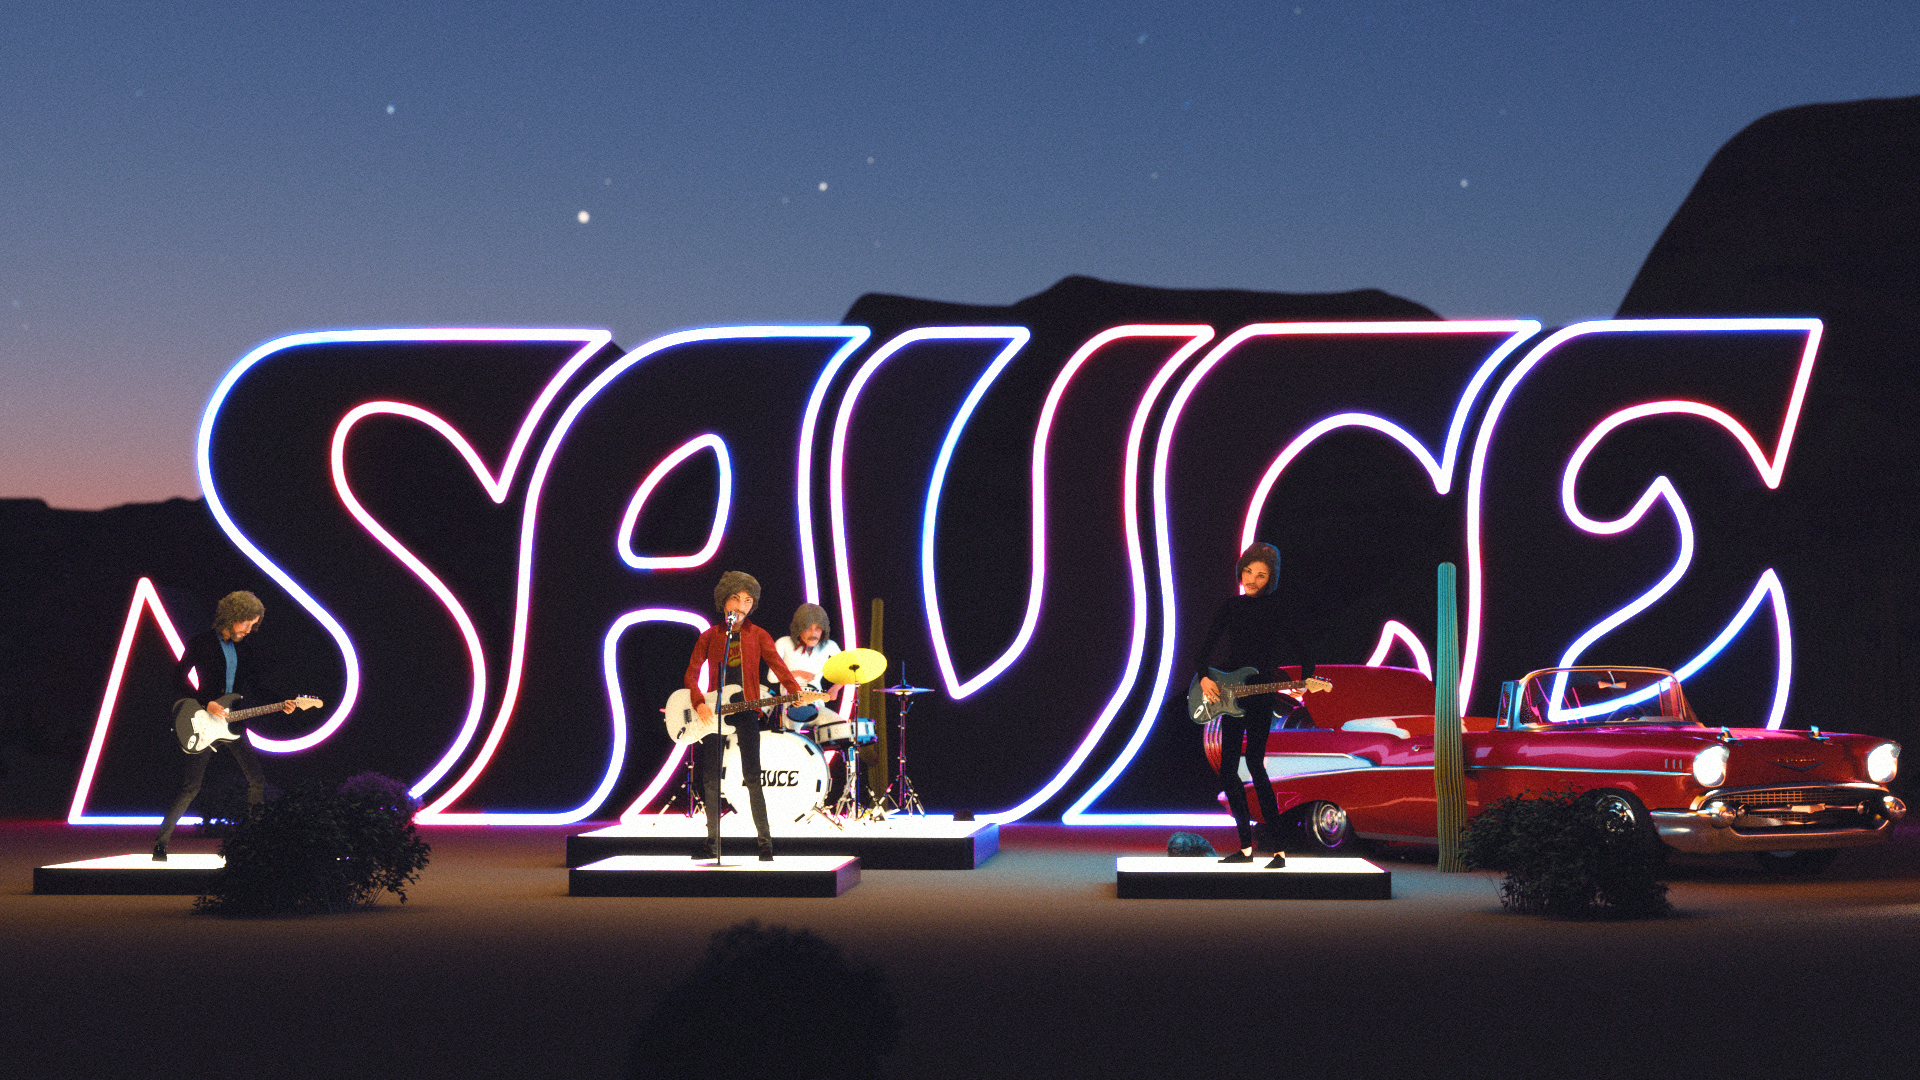
Character Workflow
The deadline for the project was tight, so the main challenge was going to be modelling, rigging and animating four characters to a high standard. The characters are based on the actual band members which added to the complexity of the creation process, therefore I had to establish a workflow that would give me the ability to produce high quality models quickly and efficiently. I decided to use Adobe Fuse to establish a base model for each character. From there I was able to craft and customise different aspects of the model from body shape to clothing. You can see the final output of the characters from Fuse below.
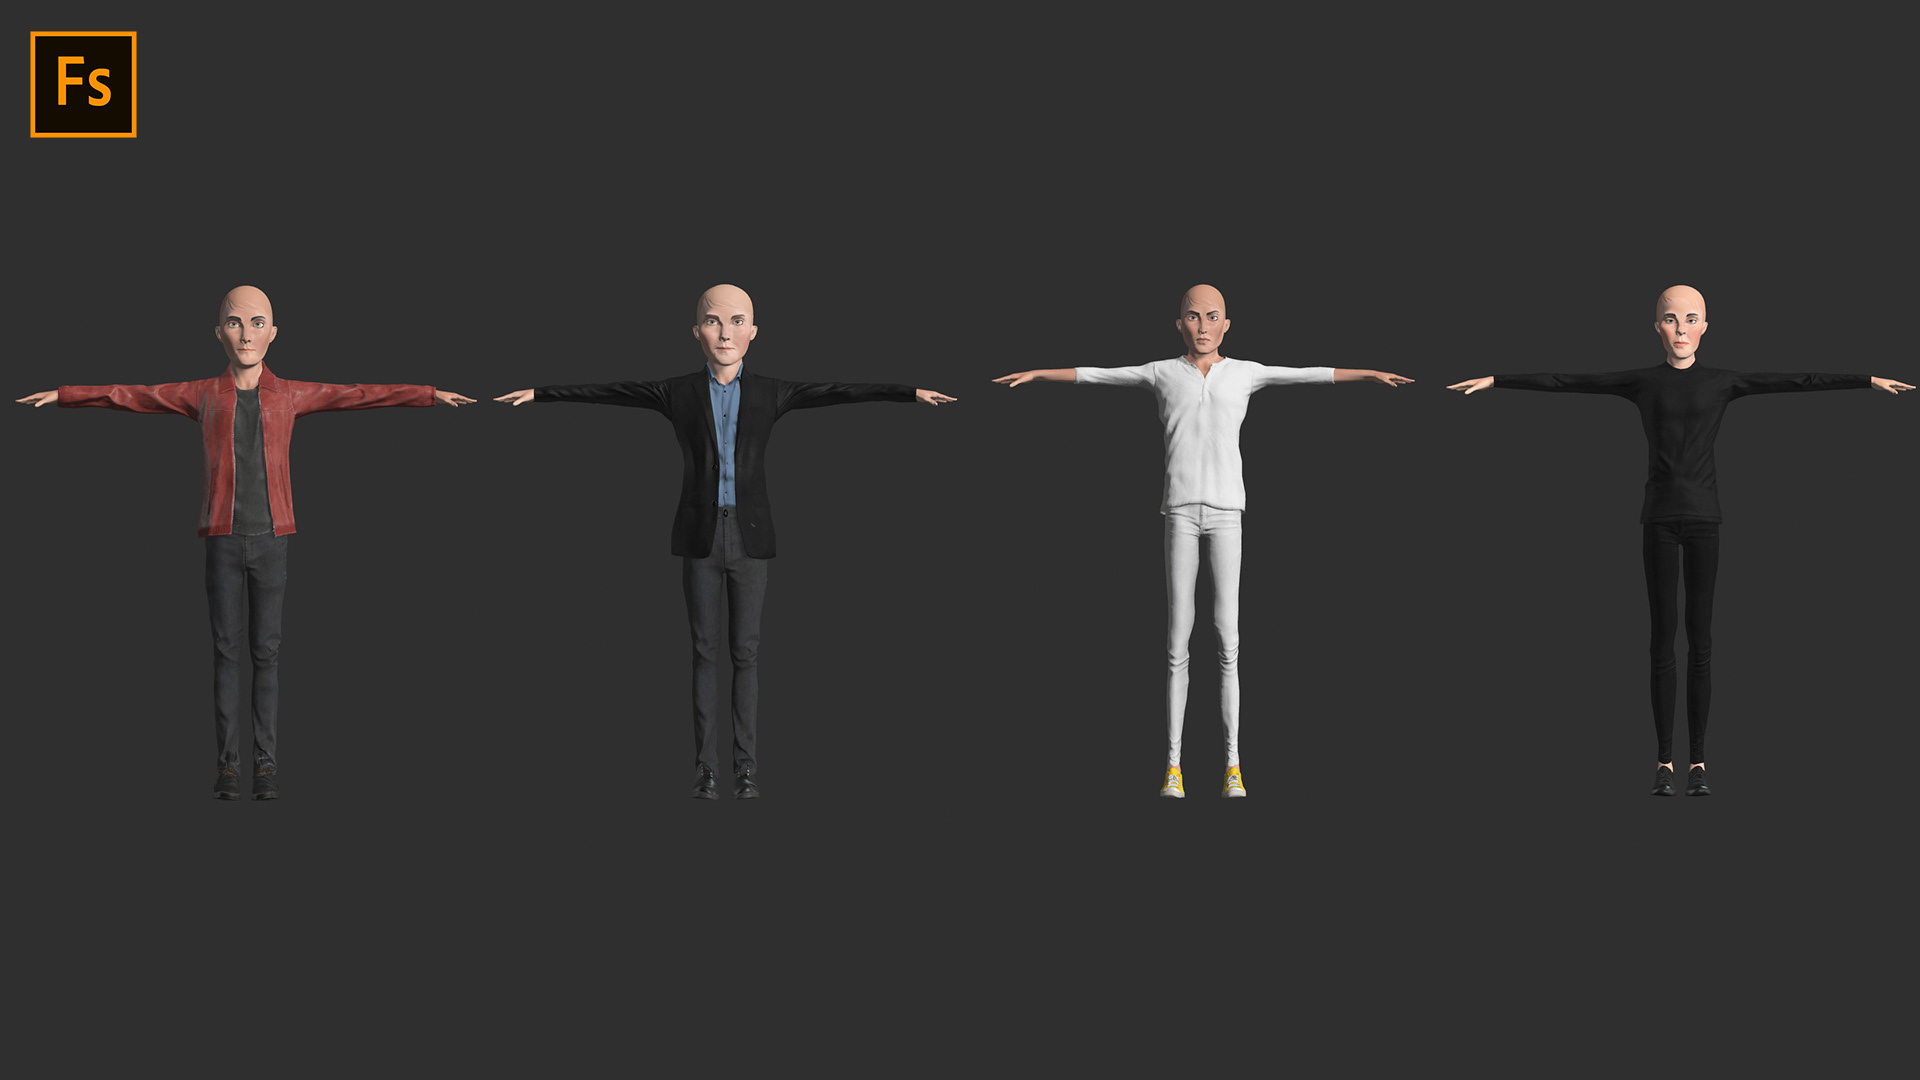
customising the fuse model
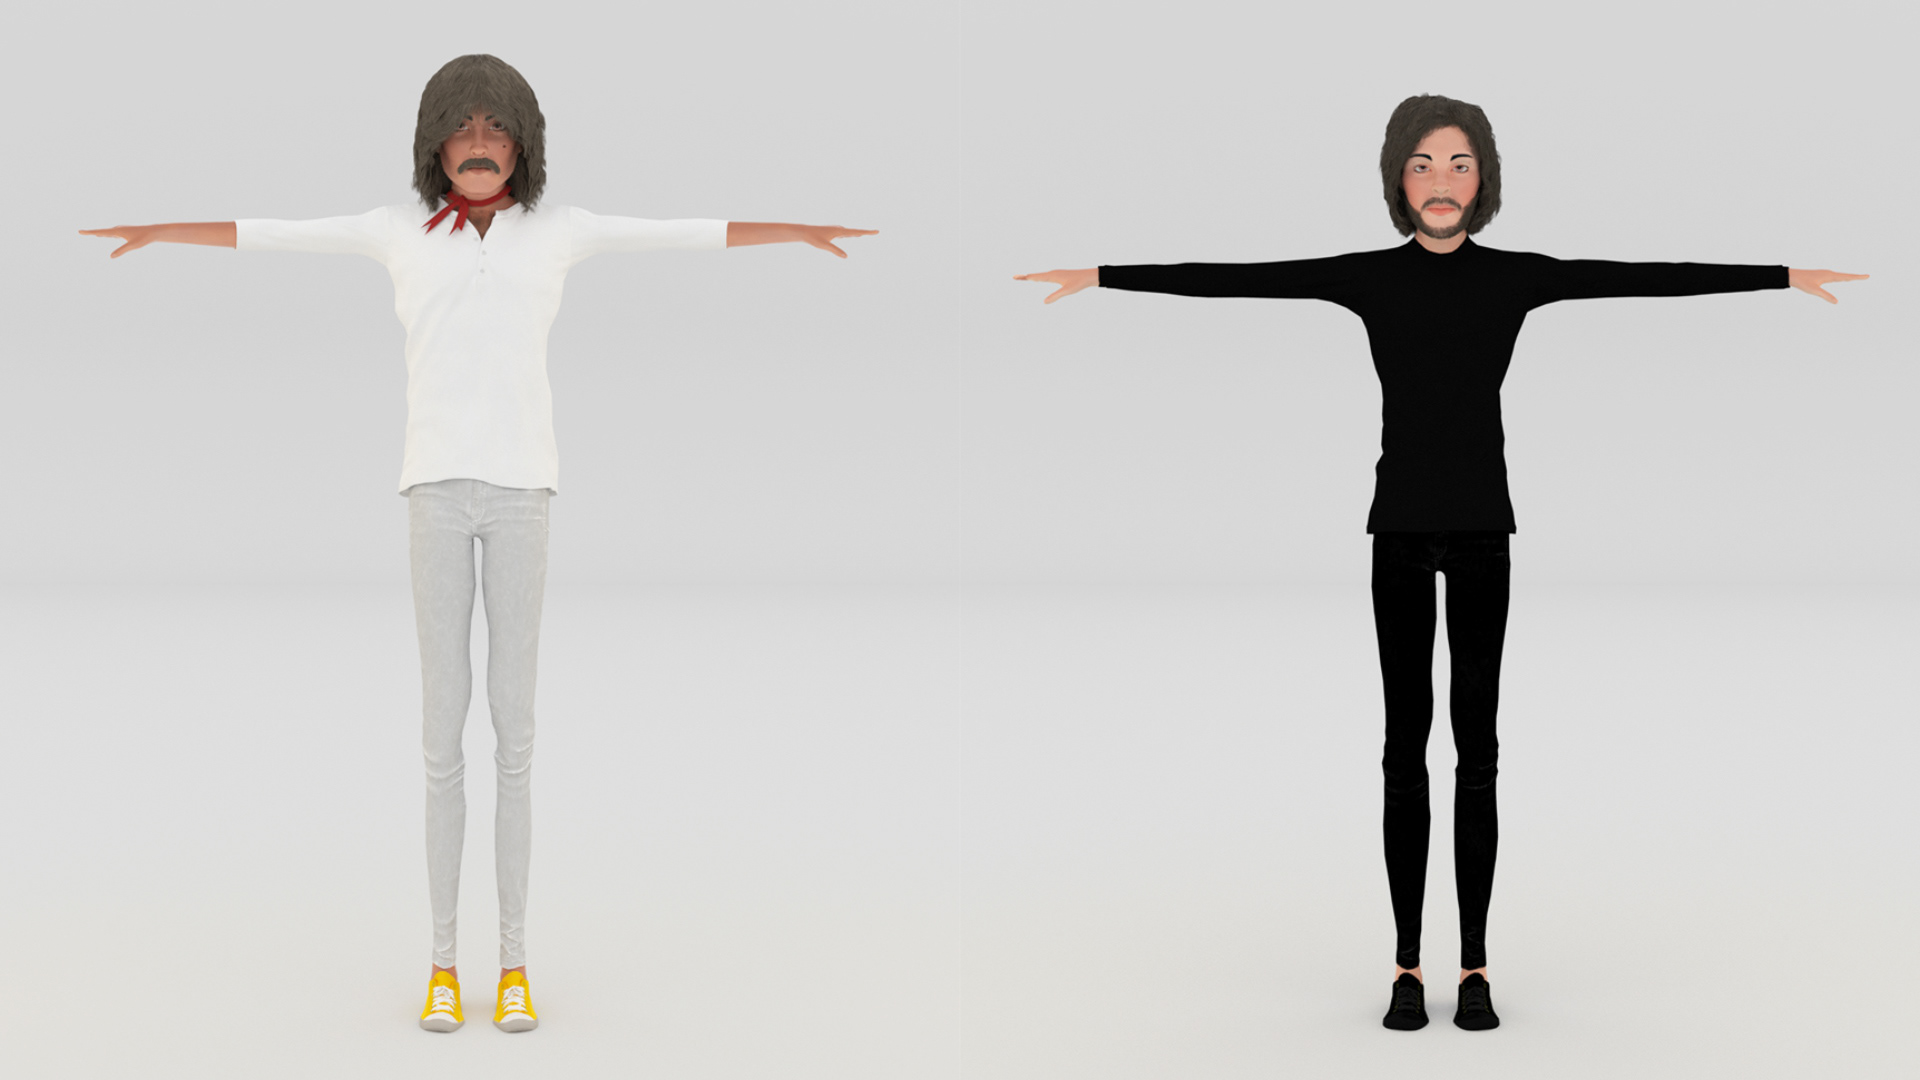
The Fuse models were then imported into Cinema 4D where I was able to add further detail to the characters, giving each of them a unique style. One of the main characteristics I wanted to focus on was hair. Each band member features a different combination of long hair and facial hair, and my aim was to focus on this aspect adding dynamics and bringing the characters to life. There is no lip syncing throughout the animation so the hair was a good way to disguise this and also communicate the energy of the song. To do this efficiently I created a wig for each character, which could then be parented to the head of the animated rig. You can see the results below.
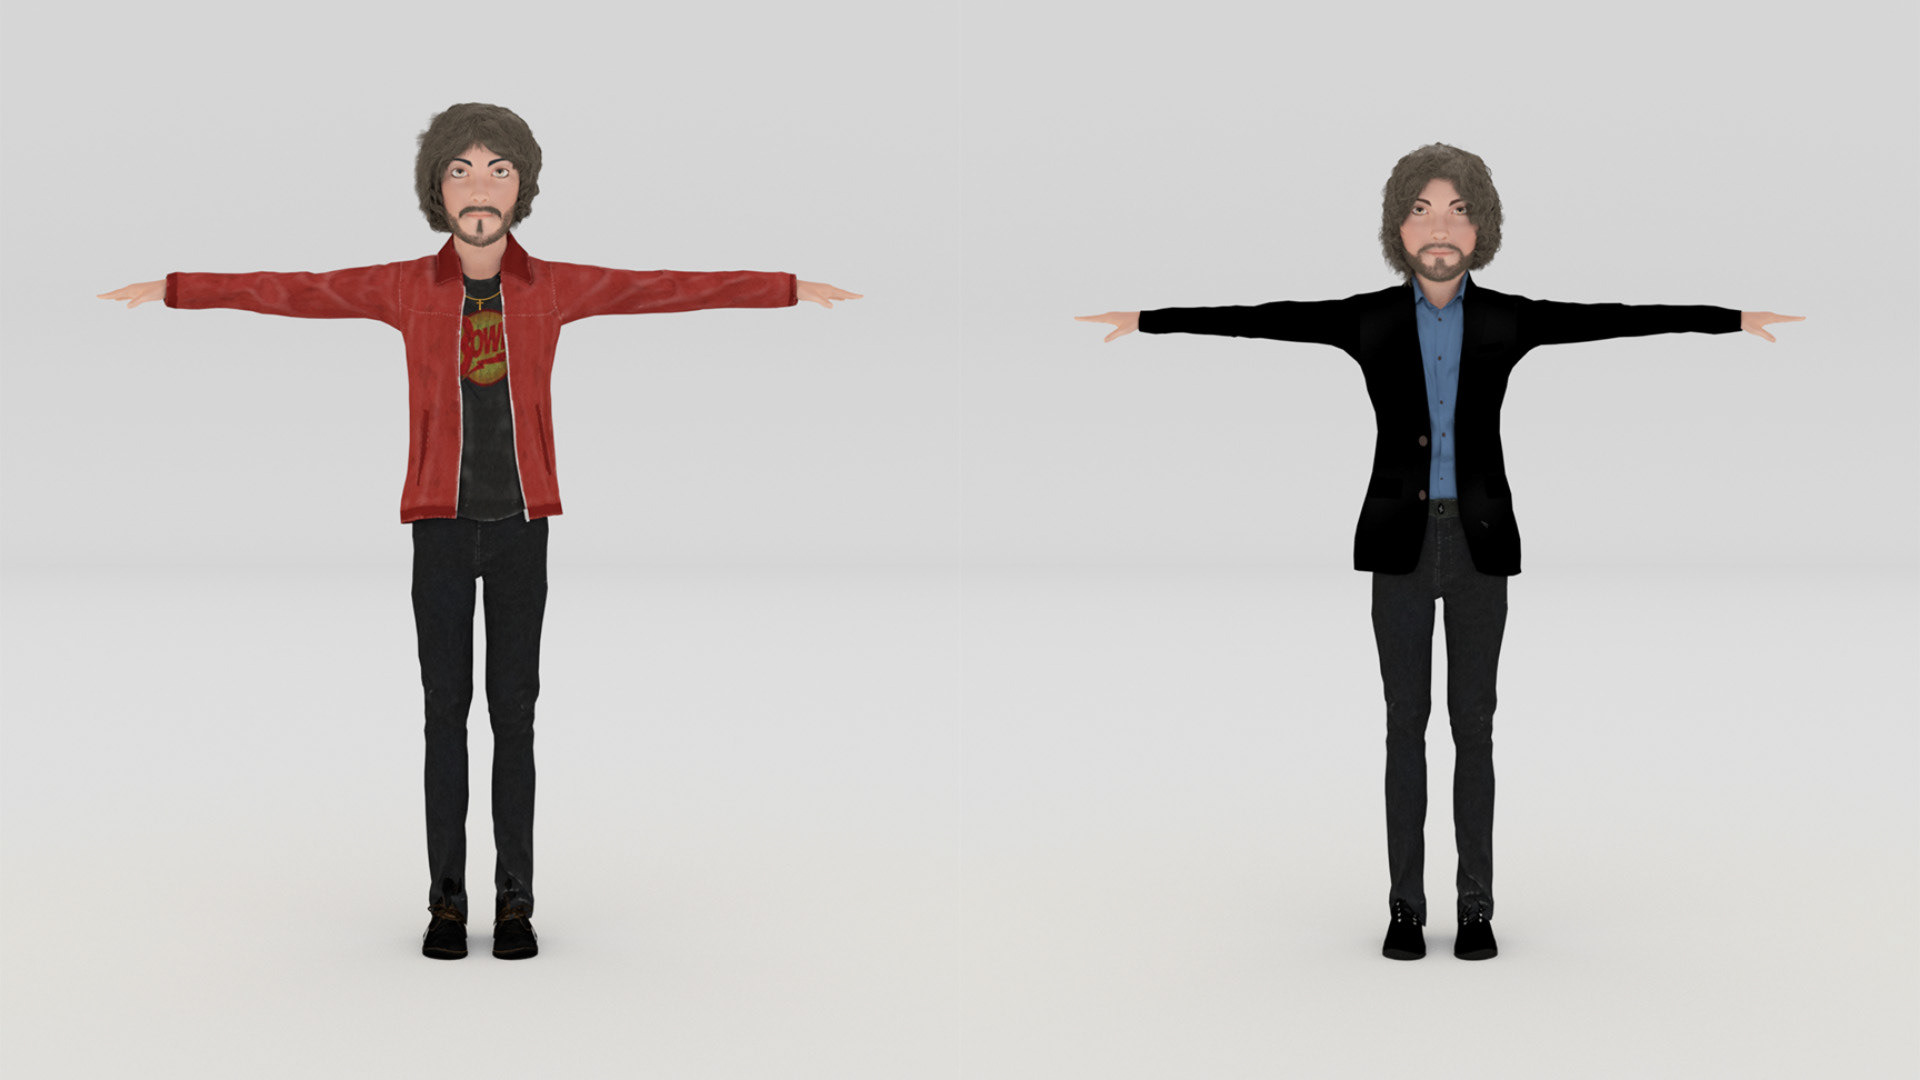
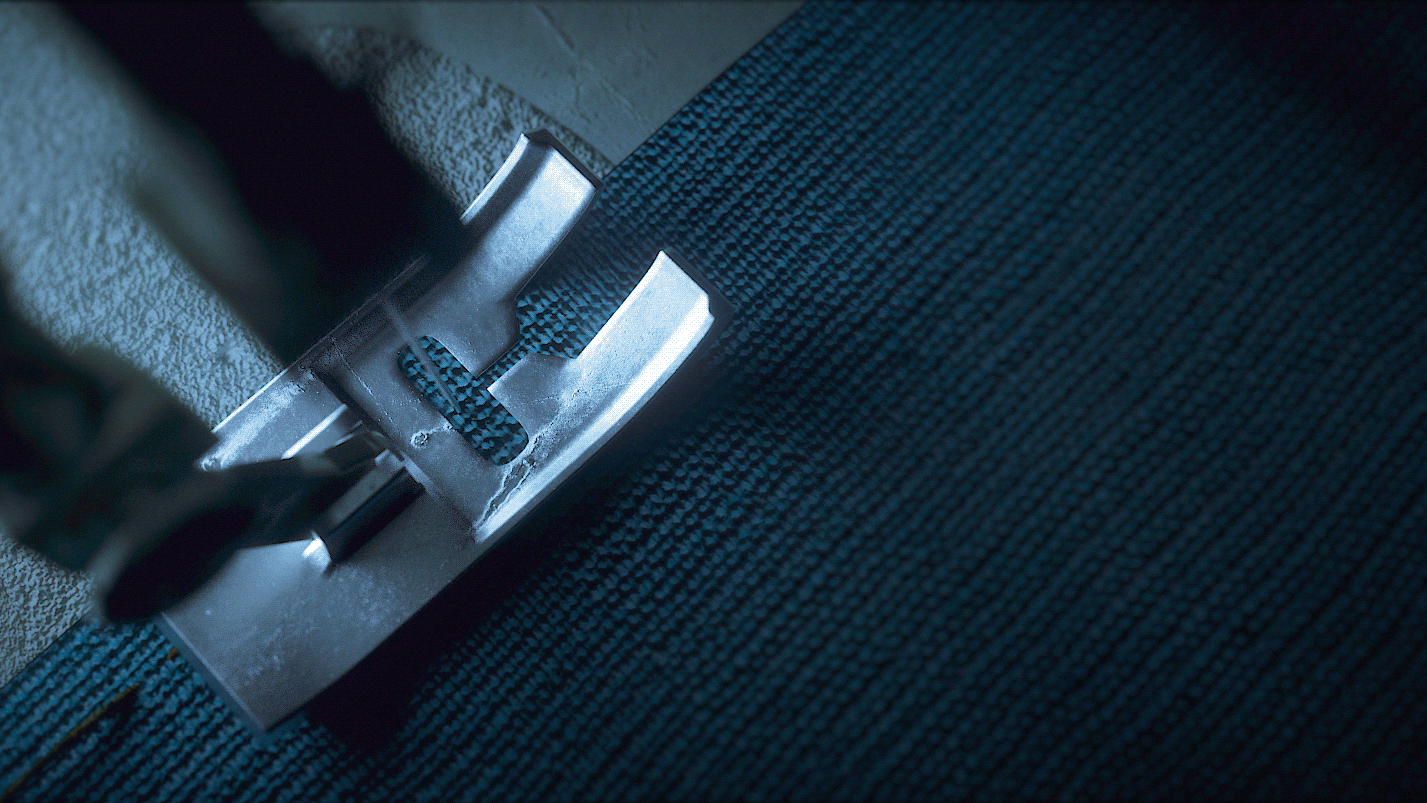
Additional details were also added such as specific logos on the clothing and accessories such as a scalf and necklace.
animating the characters
Adobe Mixamo was an excellent tools for adding preset mocap animations to each rig. The online tool allows you to upload your file as a .fbx and browse a large library of animations which can be added to your character and previewed. There are also various settings where you can change the speed of the animation as well as the characters arm space. This was great for syncing the band to the music. The drum animation for example could be synced with ease as I played the song and adjusted the speed slider to match.
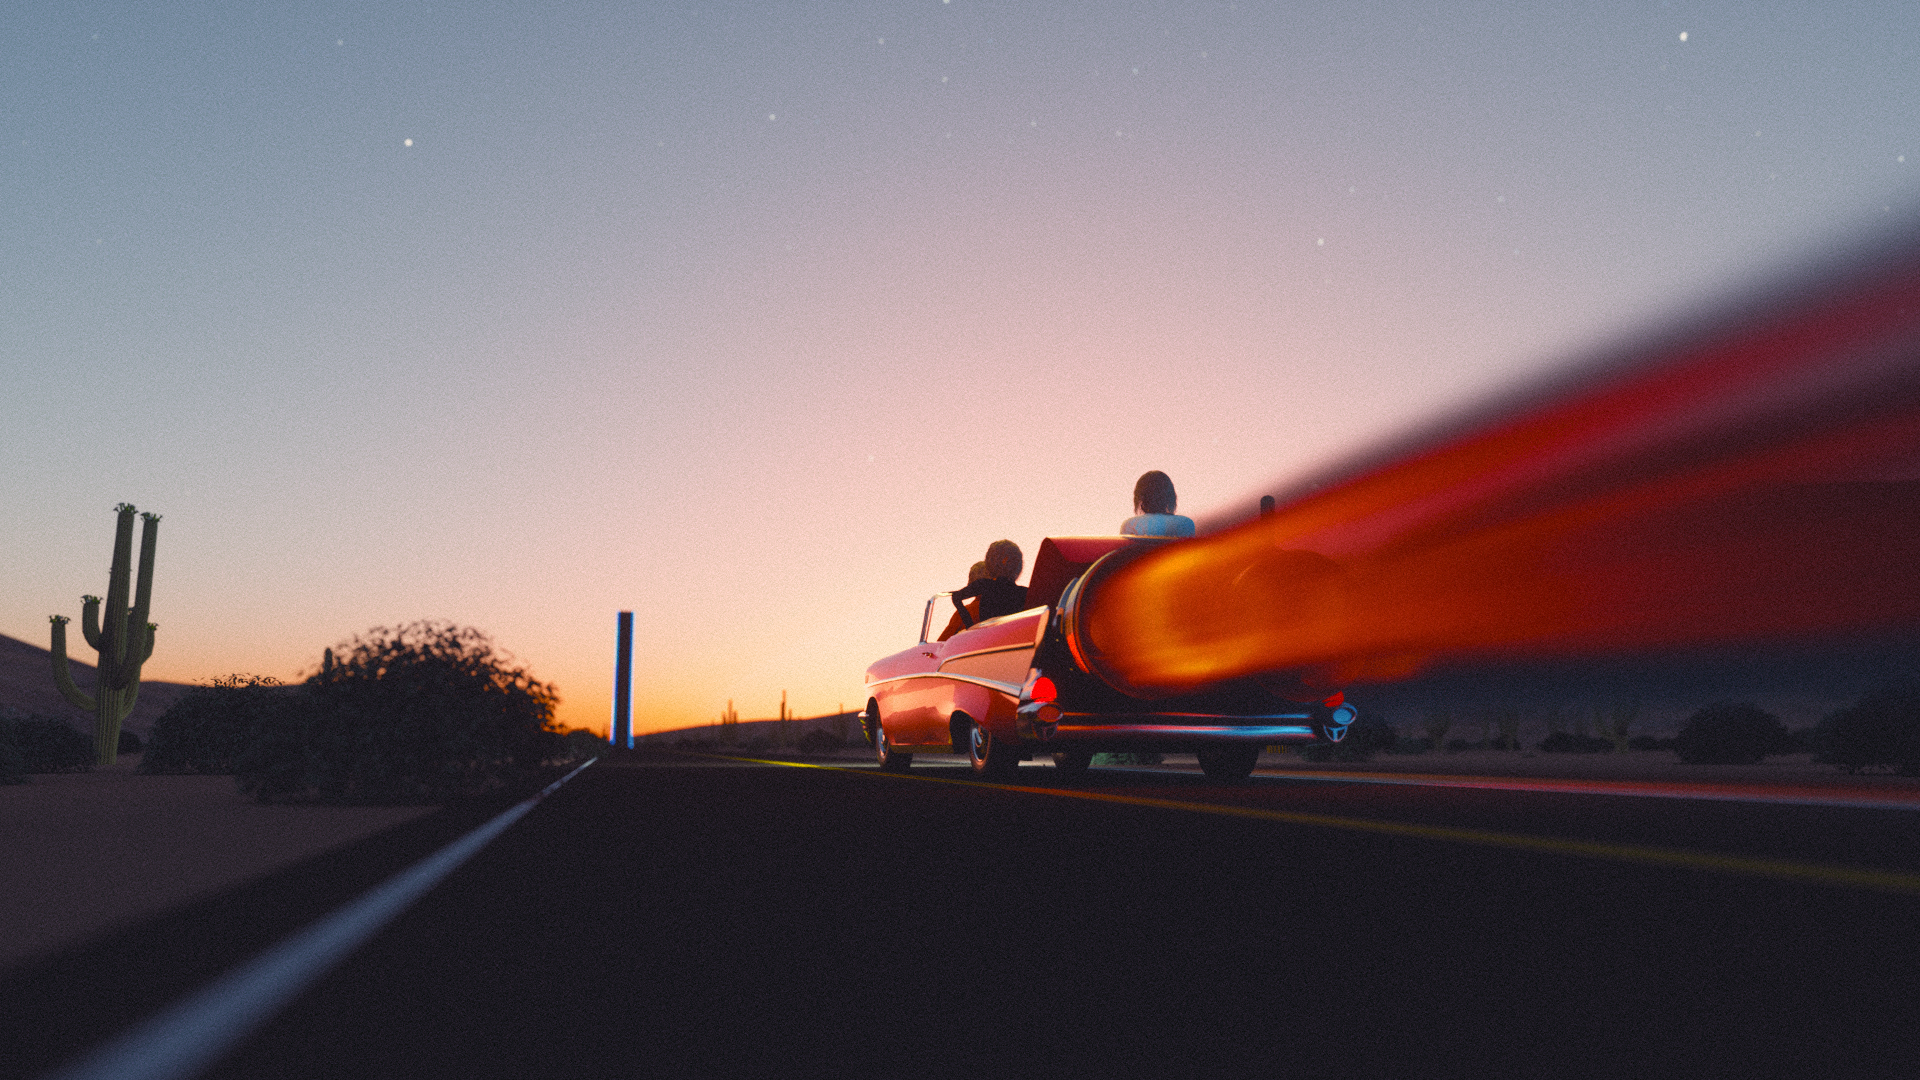
summary
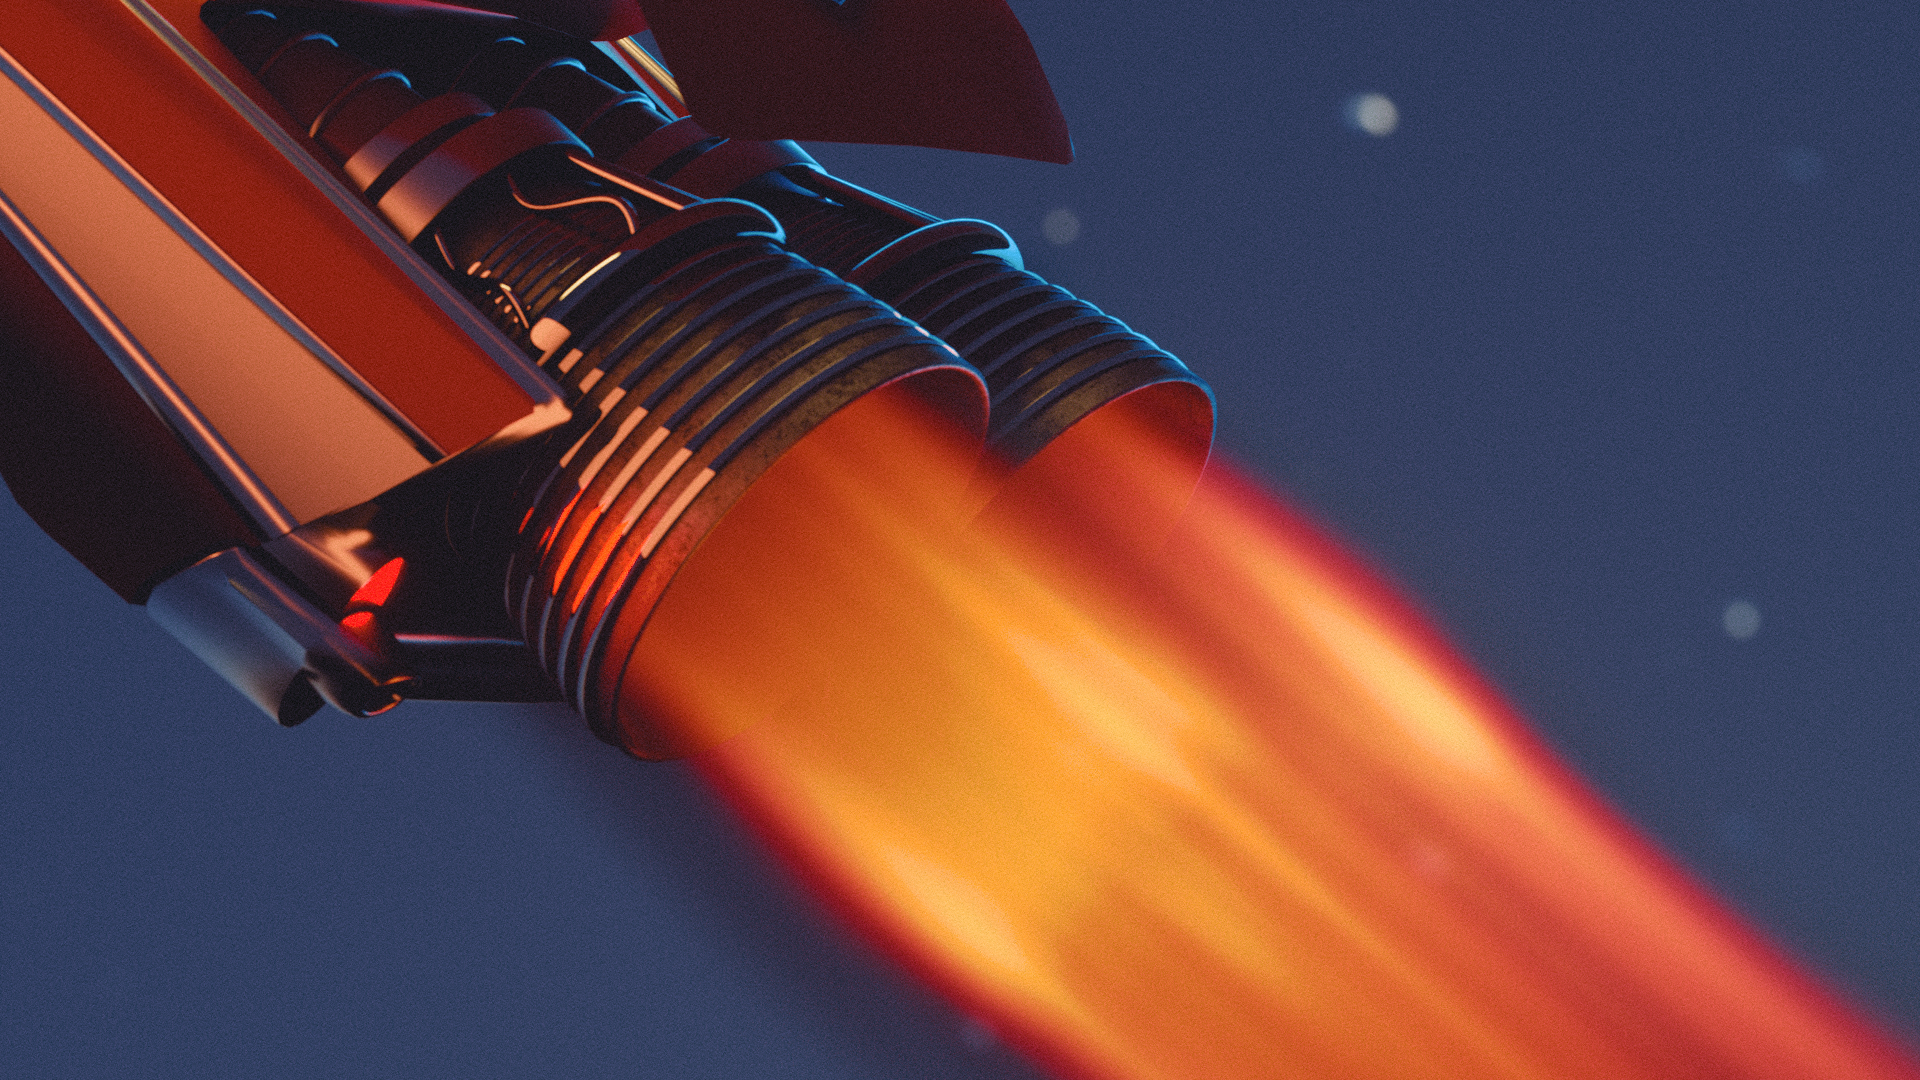
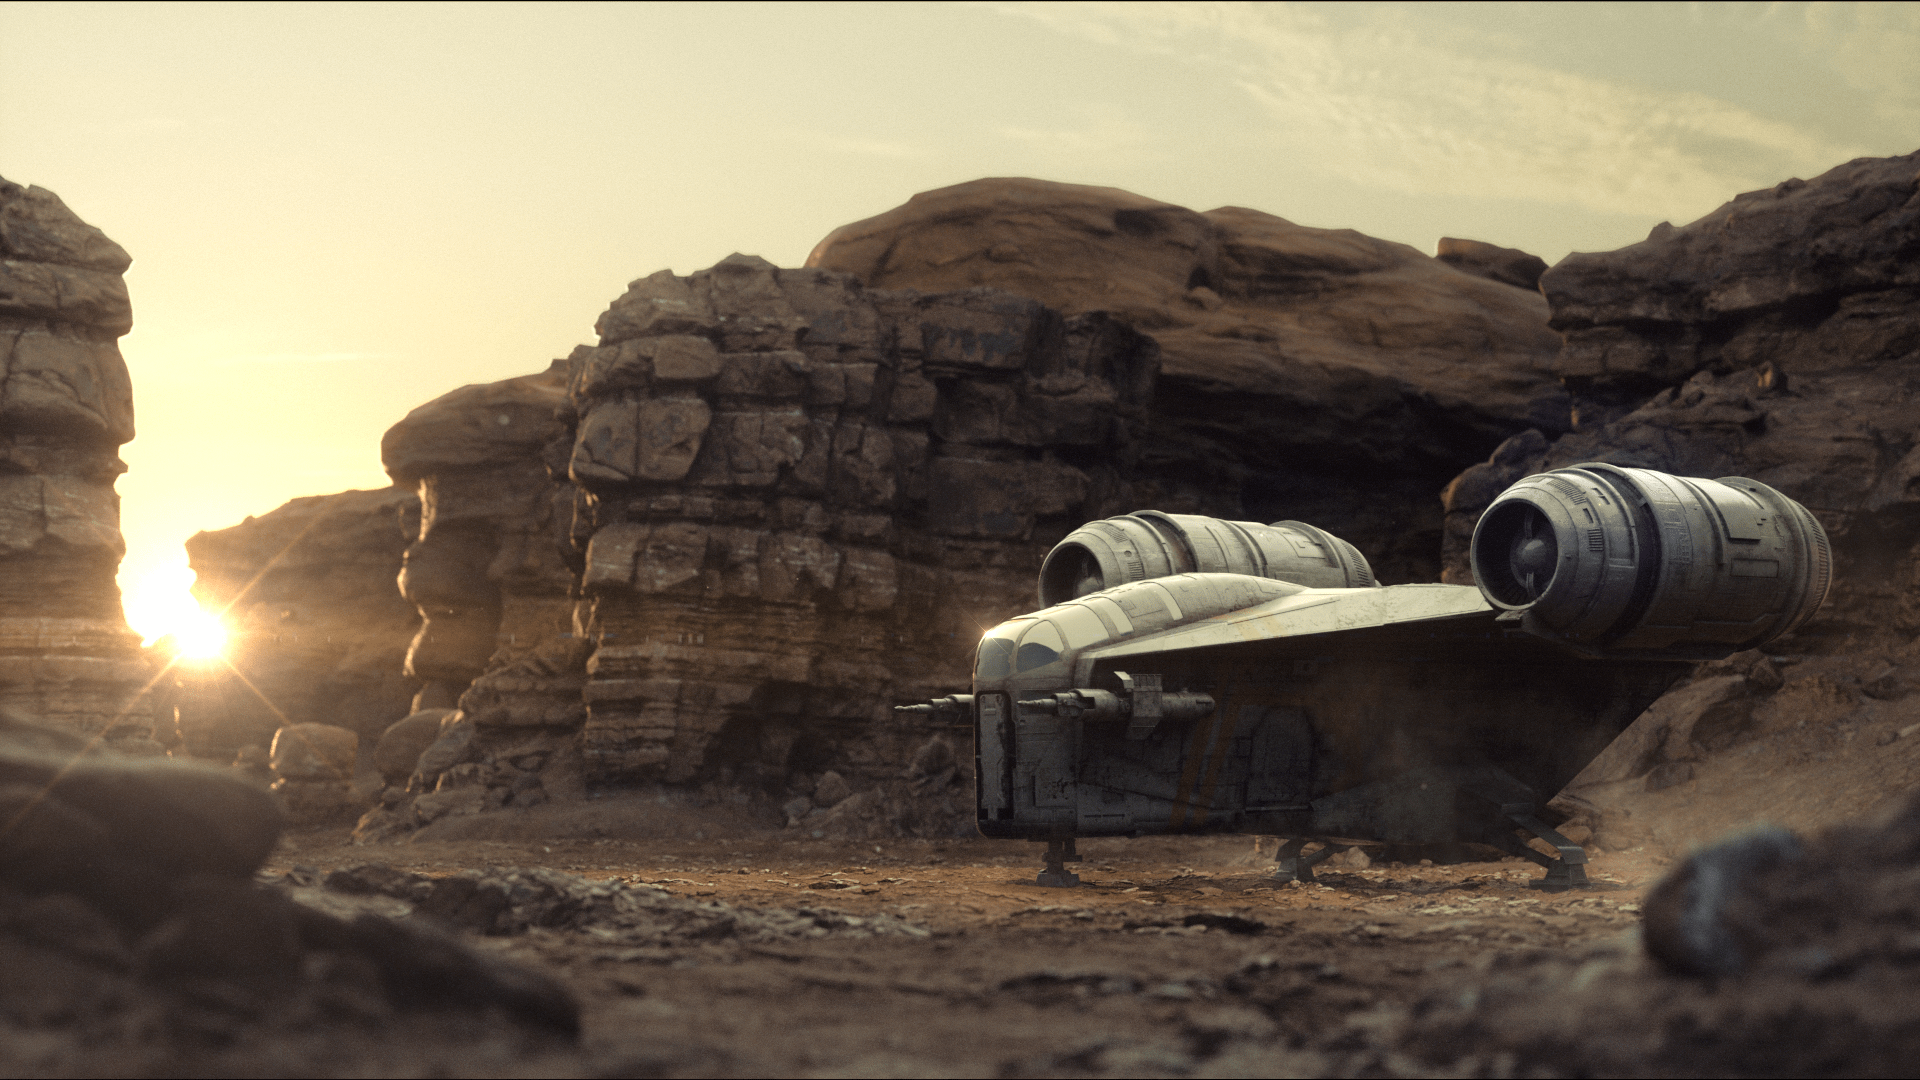
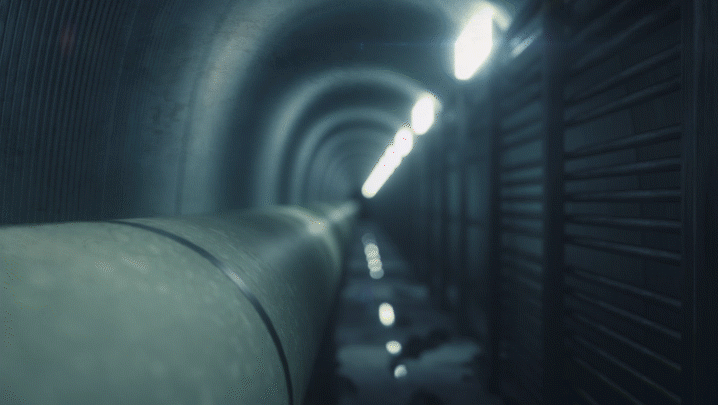
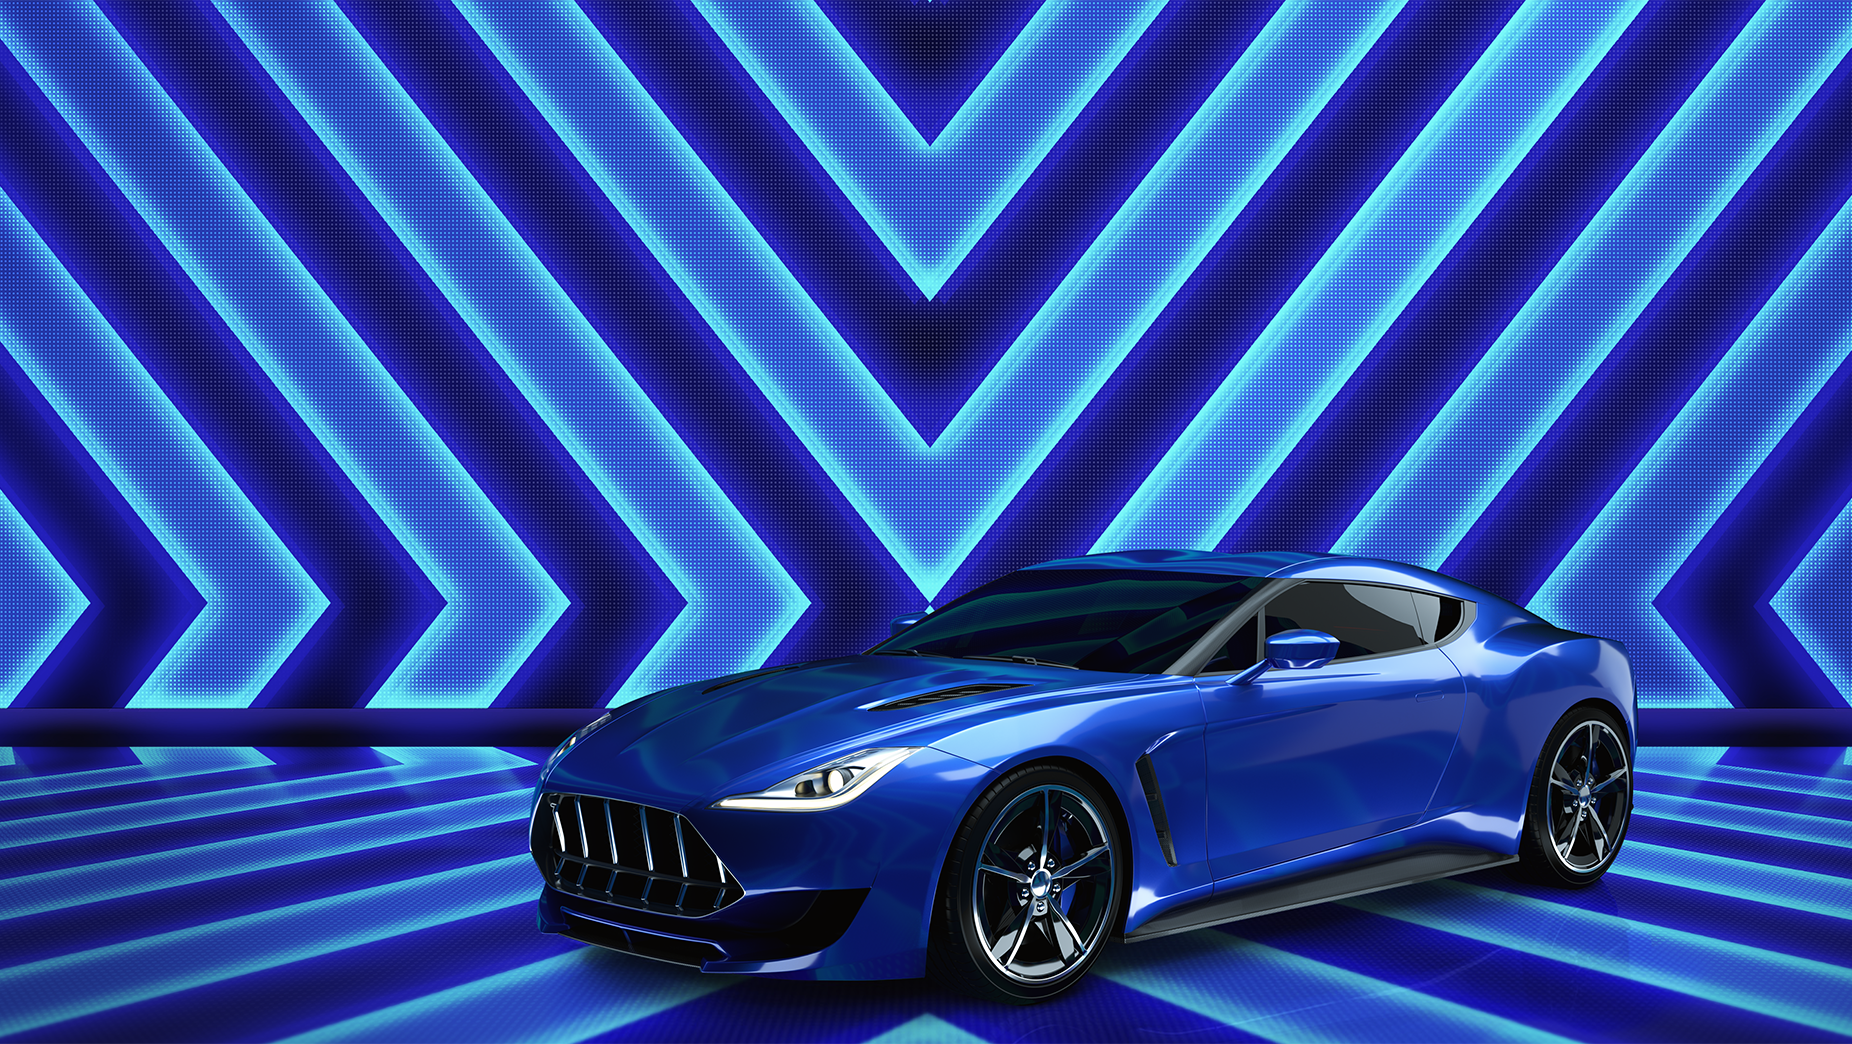
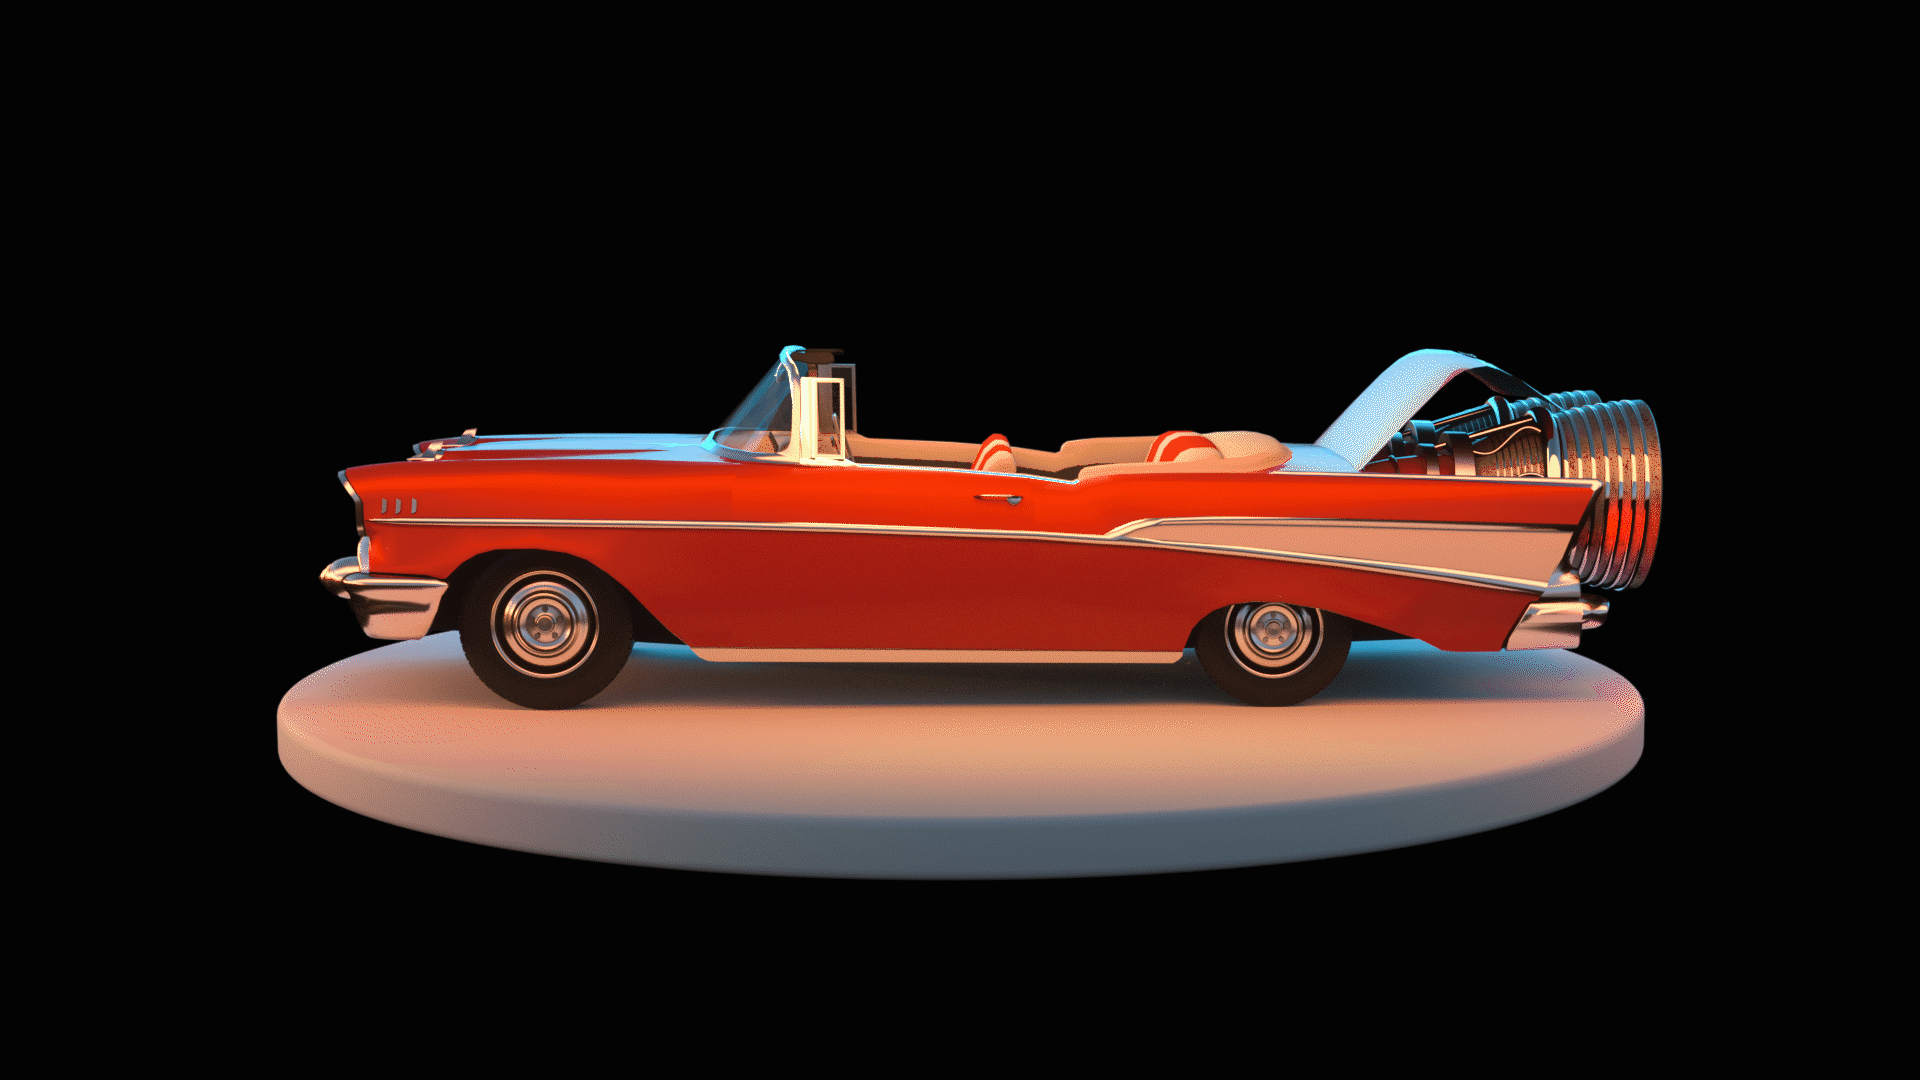
Adobe Fuse and Mixamo are both great tools that aided the delivery of the project. Cinema 4D was a great all rounder for the animation, modelling, cloth sim and hair dynamics. I also used Houdini for simulating the pyro on the cars thrusters. Octane was great for lighting, texturing and rendering and gave me lots of control over the look and feel. Finally the edit and colour grading was done in After Effects. Overall I was pleased with how the animation turned out given the tight turnaround. I look forward to incorporating this workflow again on future projects.